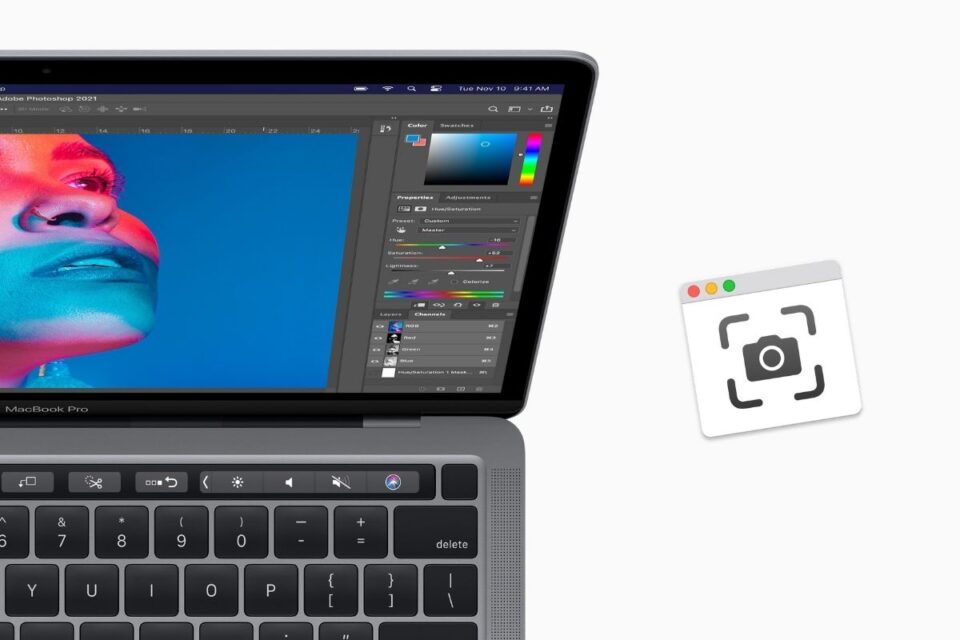
The Touch Bar at the top of the keyboard on your MacBook Pro can be fully customized with a range of controls. By default, Apple has the Brightness Slider, Volume, and Siri controls saved in the Control Strip, but users can quickly change these defaults with a range of other options, including the ability to take a screenshot of your Mac using the Touch Bar.
Before we delve in, we need to understand what the Control Strip is and how it differs from the Touch Bar.

Image: Apple
The Touch Bar adapts to what you’re doing and gives you shortcuts and controls dependant on what you’re doing. The Control Strip, on the other hand, shows Favourite controls, which usually stay fixed and visible on the Touch Bar.
How to customize the Control Strip on the MacBook Pro
- Open System Preferences
- Select Keyboard
- Open the Customize Control Strip button
You will then see all available favourites, which can be added to the Control Strip by selecting and dragging them downwards in the direction of the Touch Bar.
How to take a screenshot of your Mac using the Touch Bar
When you open the Customize Control Strip settings as highlighted above, you’ll see a Screenshot button.

Image: The Apple Post
Select and drag this towards the Touch Bar, and you’ll see it appear in the Control Strip. Now you’ll be able to take a screenshot of your Mac’s display with a tap of the Touch Bar, which will then be saved to your Desktop.
You can see our before and after below.

Image: The Apple Post